Okta SSO Setup
This guide will walk users through how to set up OKTA.
STEP ONE: Add OKTA Admin Panel
- Login to the OKTA Admin panel for your account.
- On the top of the navigation bar select “Classic UI” from the dropdown for the theme.
Note: The current OKTA team cannot be used to configure OKTA’s current custom applications.
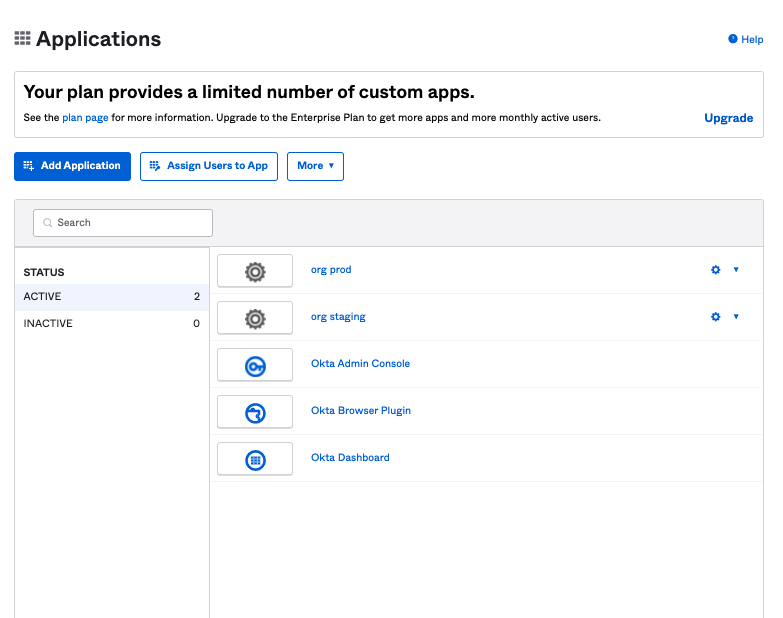
- Click “Add Application” above.
STEP TWO: Create a New App
- Click “Create New App” located in the upper left-hand corner of OKTA.
- Select Platform “Web” and Sign on Method of “SAML 2.0”
- Update app name, logo and visibility settings. This is for your reference and does not need to follow any specific rules.
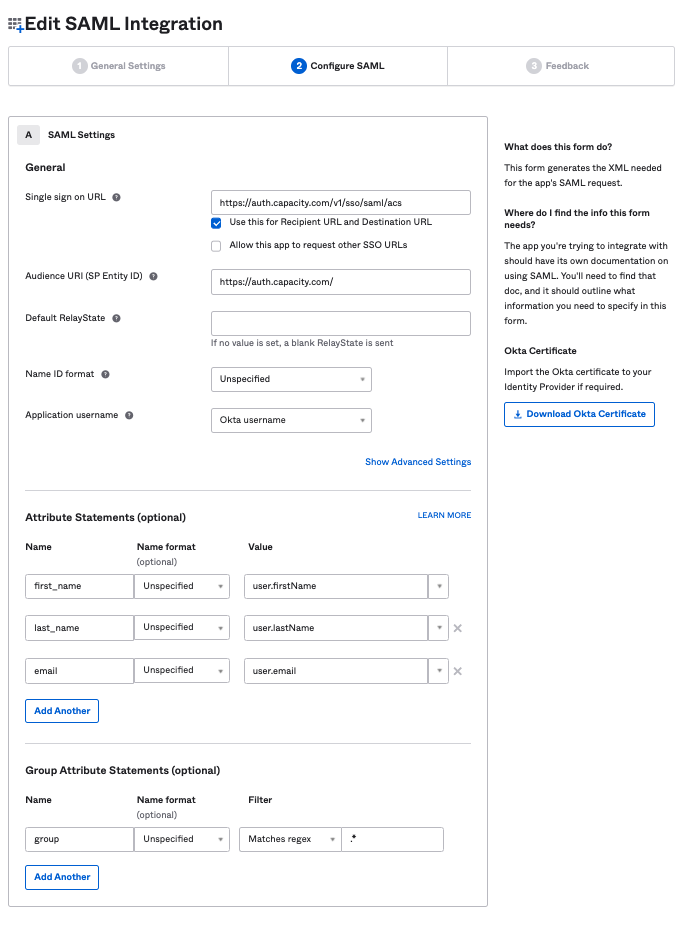
- Enter the configuration values.
- Single sign on URL: https://auth.capacity.com/v1/sso/saml/acs
- Audience URI (SP Entity ID): https://auth.capacity.com/
- Name ID format: Select Unspecified unless instructed otherwise.
- Application username: Select OKTA Username unless instructed otherwise.
Note: Any advance settings defaults will already be setup for you.
Attribute Statements (Required):
For each of the following click add/add another.
- Enter Name of “first_name”, Select “Name Format” of “Unspecified” and select the Value “user.firstName”.
- Enter Name of “last_name”, Select “Name Format” of “Unspecified” and select the Value “user.lastName”.
- Enter Name of “email”, Select “Name Format” of “Unspecified” and select the Value “user.email”.

Group Statements (Required)
- Click add and enter the Name “group”
- Select “Name Format” of “Unspecified”,
- Select Filter type of “Matches regex” and enter the value of “.*”.
- Select "I’m an OKTA customer" to add the internal app, then click Finish.
Note: For additional help in filtering group values, OKTA may provide assistance on how/where groups are used in your account.
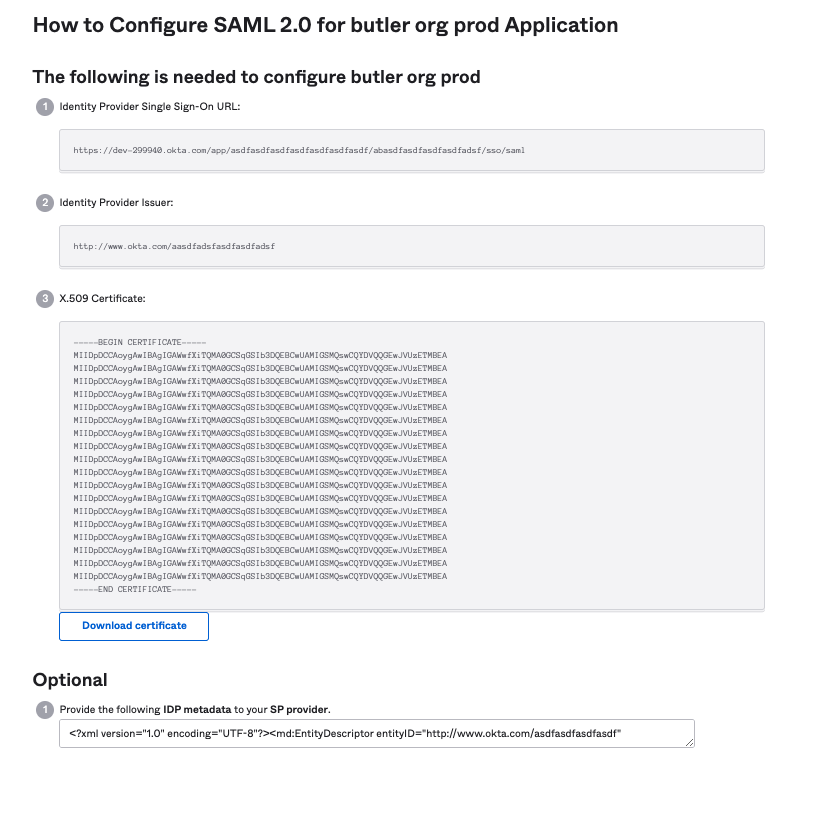
STEP THREE: Send Setup Values to Capacity
- Click View setup instructions.
- Copy the values from the setup instructions and the Metadata XML file and provide them to Capacity.
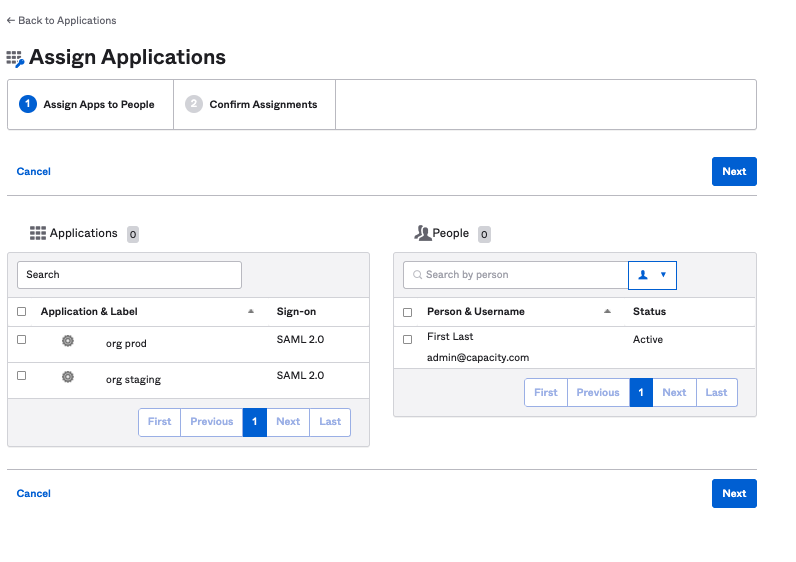
STEP FOUR: Grant Application Access to OKTA
OKTA manages application access by users or by group. In order to access the application in OKTA, it must be assigned to either users or groups directly. Please refer to OKTA's documentation in order to assign application access:
Troubleshooting Okta SSO Set Up
Sign-in from the Okta Tile inside the Okta Console is not supported by Capacity. User must open the chat bot to authenticate, and click "Click here to get started".